
Step-by-Step: How to Freeze Corn Like a Pro
1. Start with the Freshest Corn
Buy or pick your corn when it’s just been harvested. The sugars in corn quickly turn to starch after picking, so the fresher, the better.
2. Shuck and Clean
Remove the husks and silk. Rinse under cool water to get rid of any remaining strands.
3. Blanch It
Bring a large pot of water to a boil. Add corn and blanch for:
-
4 minutes for whole cobs
-
2–3 minutes for kernels
This step halts enzyme activity that causes loss of flavor and texture during freezing.
4. Cool It Fast
Transfer the corn immediately to an ice water bath for the same amount of time you blanched it. This locks in freshness, color, and that snap.
5. Cut the Kernels (Optional)
If you prefer loose corn, stand the cob upright and slice downward with a sharp knife or corn stripper. Cut just enough to remove the juicy kernels—don’t go too deep.
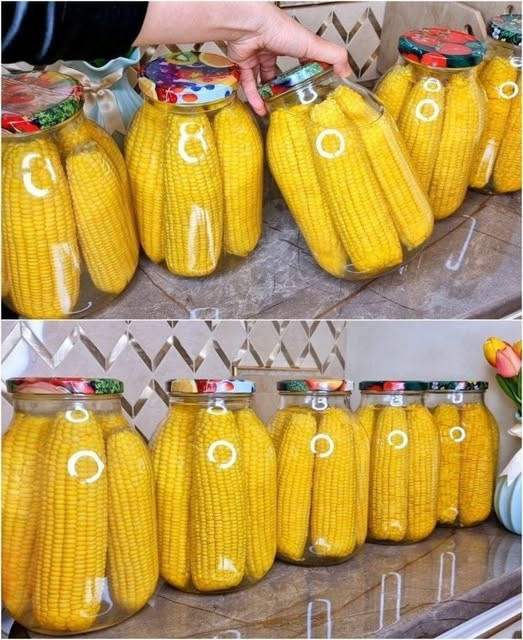
6. Package and Freeze
Place kernels or whole cobs into freezer-safe bags. Press out excess air to prevent freezer burn, label with the date, and freeze flat for easy stacking.
How We Use It in Winter
Some of our favorite ways to enjoy frozen summer corn:
-
Hearty Corn Chowder – Rich, creamy, and perfect with bacon and potatoes.
-
Southwest Casserole – Cheesy comfort with beans, peppers, and corn.
-
Corn Fritters – Crisp on the outside, soft and sweet inside.
-
Sautéed Corn with Herbs – Quick, buttery, and full of flavor.
-
In Everything Else – Chili, soups, tacos, salads, stir-fries—you name it.
And yes, it really does taste just like summer, even in the middle of January.
Final Thoughts
There’s something special about preserving the tastes of summer. With a little prep, you can enjoy sweet, tender corn all winter long and bring a touch of sunshine to your table—no matter the season.
So next time you spot fresh corn at the market, grab extra and freeze it. Come winter, you’ll be glad you did.
From our freezer to our table, and now to yours.
