
Step-by-Step Instructions:
Step 1: Preparing the Baking Sheet
Heat your oven to 350°F, with a rack in the center position. This will guarantee that the Rice Krispie balls will slide right off, and it’ll be even easier for you to clean afterward.
Step 2: Melting the Caramels
Gather Ingredients:
14 ounces Kraft caramels
1 can (14 ounces) evaporated milk
2 tablespoons butter
Put the caramels, evaporated milk and butter in a medium-size saucepan. Place the pan over medium heat, and stir constantly until the caramels are completely melted and the mixture is smooth and creamy. This should take 5-7 minutes to do. Just make sure you don’t boil it or burn it.
Step 3: Coat the Marshmallows
Make Marshmallows: Stick a toothpick in each marshmallow to make dipping easier.
Dip and Coat: Dip each marshmallow in the caramel mixture, twisting slightly to cover completely. Work quickly; the caramel will cool and thicken rapidly.

Step 4: Roll in Cereal
Prepare the Cereal:
If using homemade marshmallows, pour 7 cups of Rice Krispies cereal into a shallow dish or a baking sheet.
Roll Marshmallows:
Quickly after dipping a marshmallow in caramel, roll it in the Rice Krispies cereal right away until completely coated.
Fold in the cereal until it’s lightly coated with the caramel.
Place on Baking Sheet:
Gently transfer the coated marshmallow to a prepared baking sheet. Continue as above with remaining marshmallows.
Step 5: Set to Cool
Remove Toothpicks:
I recommend doing this one at a time, so once the marshmallow is coated, gently pull out the toothpicks.
Let Set:
Let the rice Krispie balls rest on the parchment-lined baking sheets for 30 minutes. This makes the caramel firm up, the treats hold their shape.
Step 6: Serve and Enjoy
Serve as Is:
The Rice Krispie balls look great just as they are in the tray!The chewy, crunchy texture makes them an almighty snack or dessert.
Optional Enhancements:
Pair with Ice Cream Save with Image: A scoop of vanilla ice cream will contrast the texture.
Holiday Decor: Drizzle melted chocolate or colored sugar.

Serving Suggestions:
Just as a nutrition fact, these carmJan Marshmallow Rice Krispie Balls. Here’s how to serve ’em for different occasions:
Party Treats: For parties or gatherings, arrange on a pretty platter.
Lunchbox Surprise: Toss one or two into a sealed bag for an exciting lunchbox treat.
Holiday Gifts: Wrap balls individually in cellophane and tie with a ribbon for a nice homey gift.
Dessert Table: Serve alongside other no-bake sweets like chocolate-dipped pretzels or peanut butter balls for a sweet spread.
Storage and Reheating:
Room temperature: Store in an airtight container at room temperature for 3 days.
Refrigerate: For longer storage, refrigerate in a covered container for a week. Refrigerate until serving, then bring to room temperature.
Freezing: These are not suitable for freezing; the caramel turns sticky or hard upon thawing.
Variations:
Wild Cereal Coating: You might get really funky and make it with Cocoa Krispies, Fruity Pebbles or crushed graham crackers for a zesty kick.
Nutty crunch: For added texture and flavor, roll your caramel-encased marshmallows in crushed nuts — peanuts, almonds or pecans each work well.
Add a little sprinkle: You can add sprinkles by holiday or occasion.
Salted caramel: Sprinkle on a bit of flaky sea salt before dipping in cereal for a sweet-and-savory crunch.
For Chocolate Lovers: Drizzle with melted chocolate, or dip half of the ball into chocolate for an even richer version.

Conclusion:
Somewhere in the middle is a delightful combination of chewy, crispy and sweet. What I landed on was the Caramel Marshmallow Rice Krispie Balls. They’re also perfect for any occasion, from relaxed treats for the family to festive affairs, owing to how easy they are to prepare, and how endlessly you can customize them.
This recipe is easy enough for a beginner but impressive enough for everyone to enjoy. So gather your ingredients, roll up your sleeves and prepare to enjoy a delightful treat that is as fun to make as it is to eat.
Step-by-Step Instructions:
Step 1: Preparing the Baking Sheet
Heat your oven to 350°F, with a rack in the center position. This will guarantee that the Rice Krispie balls will slide right off, and it’ll be even easier for you to clean afterward.
Step 2: Melting the Caramels
Gather Ingredients:
14 ounces Kraft caramels
1 can (14 ounces) evaporated milk
2 tablespoons butter
Put the caramels, evaporated milk and butter in a medium-size saucepan. Place the pan over medium heat, and stir constantly until the caramels are completely melted and the mixture is smooth and creamy. This should take 5-7 minutes to do. Just make sure you don’t boil it or burn it.
Step 3: Coat the Marshmallows
Make Marshmallows: Stick a toothpick in each marshmallow to make dipping easier.
Dip and Coat: Dip each marshmallow in the caramel mixture, twisting slightly to cover completely. Work quickly; the caramel will cool and thicken rapidly.
Step 4: Roll in Cereal
Prepare the Cereal:
If using homemade marshmallows, pour 7 cups of Rice Krispies cereal into a shallow dish or a baking sheet.
Roll Marshmallows:
Quickly after dipping a marshmallow in caramel, roll it in the Rice Krispies cereal right away until completely coated.
Fold in the cereal until it’s lightly coated with the caramel.
Place on Baking Sheet:
Gently transfer the coated marshmallow to a prepared baking sheet. Continue as above with remaining marshmallows.
Step 5: Set to Cool
Remove Toothpicks:
I recommend doing this one at a time, so once the marshmallow is coated, gently pull out the toothpicks.
Let Set:
Let the rice Krispie balls rest on the parchment-lined baking sheets for 30 minutes. This makes the caramel firm up, the treats hold their shape.
Step 6: Serve and Enjoy
Serve as Is:
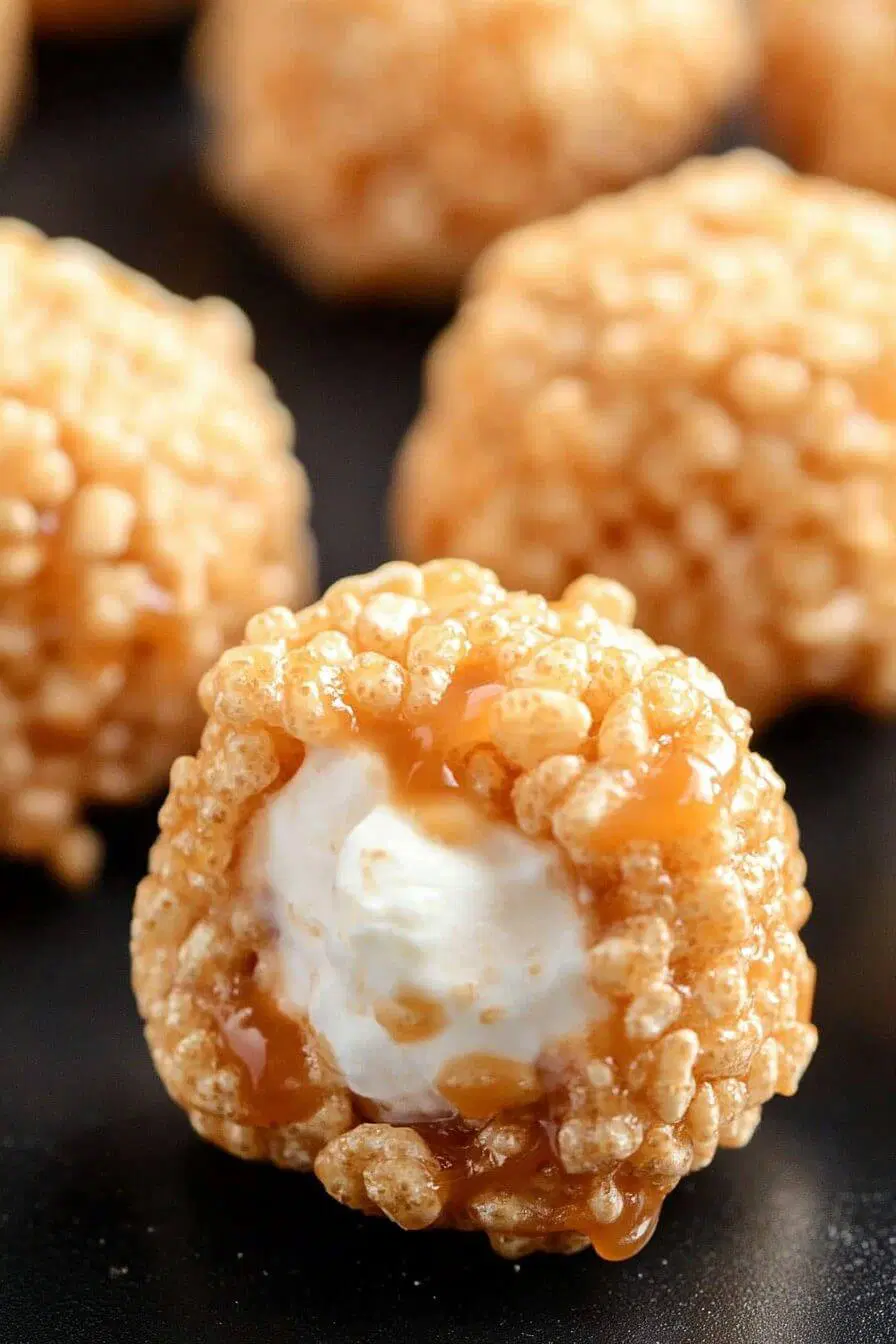
The Rice Krispie balls look great just as they are in the tray!The chewy, crunchy texture makes them an almighty snack or dessert.
Optional Enhancements:
Pair with Ice Cream Save with Image: A scoop of vanilla ice cream will contrast the texture.
Holiday Decor: Drizzle melted chocolate or colored sugar.
Serving Suggestions:
Just as a nutrition fact, these carmJan Marshmallow Rice Krispie Balls. Here’s how to serve ’em for different occasions:
Party Treats: For parties or gatherings, arrange on a pretty platter.
Lunchbox Surprise: Toss one or two into a sealed bag for an exciting lunchbox treat.
Holiday Gifts: Wrap balls individually in cellophane and tie with a ribbon for a nice homey gift.
Dessert Table: Serve alongside other no-bake sweets like chocolate-dipped pretzels or peanut butter balls for a sweet spread.
Storage and Reheating:
Room temperature: Store in an airtight container at room temperature for 3 days.
Refrigerate: For longer storage, refrigerate in a covered container for a week. Refrigerate until serving, then bring to room temperature.
Freezing: These are not suitable for freezing; the caramel turns sticky or hard upon thawing.
Variations:
Wild Cereal Coating: You might get really funky and make it with Cocoa Krispies, Fruity Pebbles or crushed graham crackers for a zesty kick.
Nutty crunch: For added texture and flavor, roll your caramel-encased marshmallows in crushed nuts — peanuts, almonds or pecans each work well.
Add a little sprinkle: You can add sprinkles by holiday or occasion.
Salted caramel: Sprinkle on a bit of flaky sea salt before dipping in cereal for a sweet-and-savory crunch.
For Chocolate Lovers: Drizzle with melted chocolate, or dip half of the ball into chocolate for an even richer version.
Conclusion:
Somewhere in the middle is a delightful combination of chewy, crispy and sweet. What I landed on was the Caramel Marshmallow Rice Krispie Balls. They’re also perfect for any occasion, from relaxed treats for the family to festive affairs, owing to how easy they are to prepare, and how endlessly you can customize them.
This recipe is easy enough for a beginner but impressive enough for everyone to enjoy. So gather your ingredients, roll up your sleeves and prepare to enjoy a delightful treat that is as fun to make as it is to eat.
